
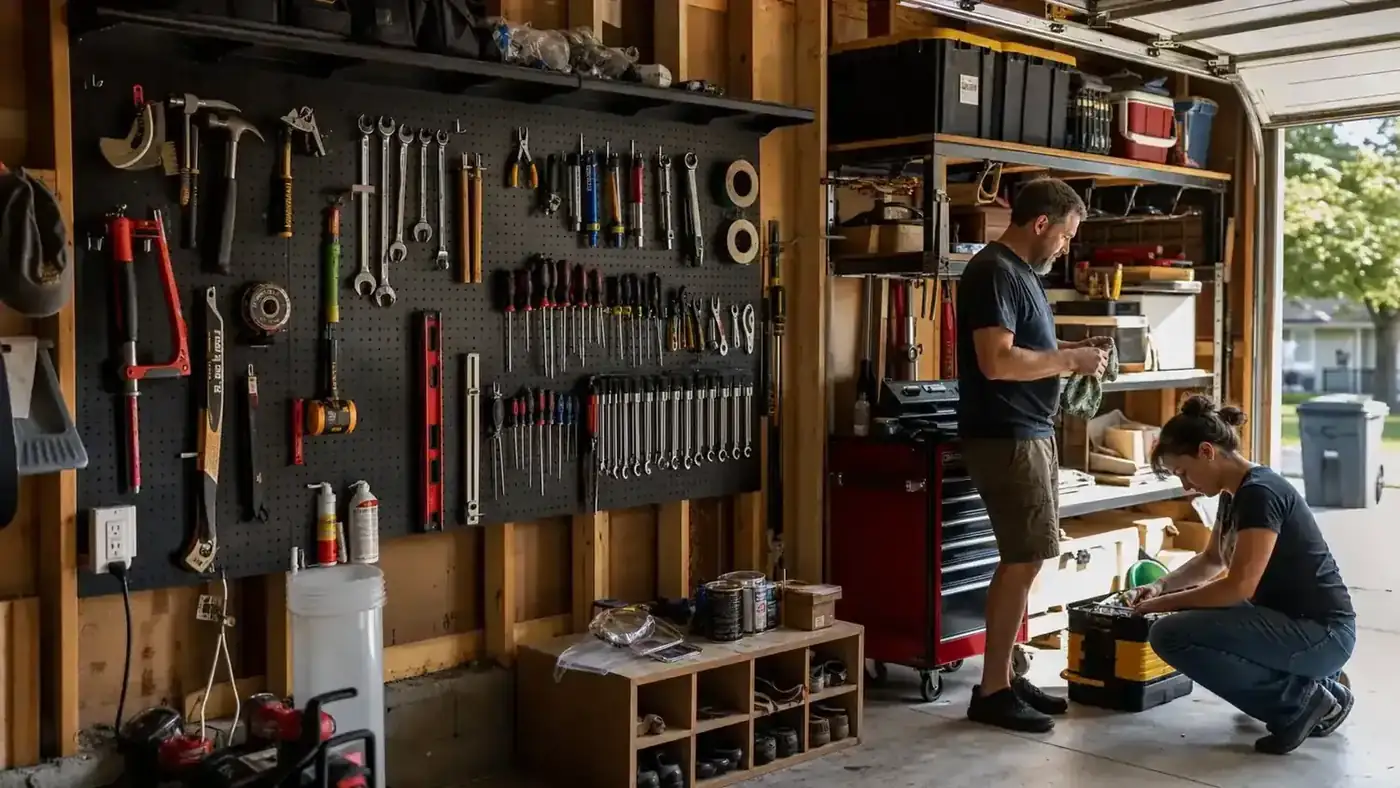
Six years into owning this house, our garage had turned into the room nobody could park a car in. Every flat surface held a coffee can of loose screws, three tape measures that were never in the same place twice, and an old tan pegboard so warped from humidity that it had stopped holding anything heavier than a level. When my husband Dale lost his cordless drill for the third weekend in a row, right in the middle of rebuilding a section of the back fence, I ordered the Wall Control Metal Pegboard Organizer, the 4-foot black kit, mostly out of spite. It's been mounted on our garage wall for a full season now, through a spring of yard projects, a summer of bike repairs, and one very ambitious deck-staining weekend. Here's what actually happened to it.
I write about home storage for a living, which means I've hung a lot of pegboard in my time, the flimsy tan Masonite kind from the hardware store included. This one felt different from the first minute I touched it. It's 22-gauge steel, not pressed wood, and the two panels together give a true 4 feet of slotted wall space. I want to walk through what held up, what I'd do differently if I mounted it again, and who this system is actually built for, because it isn't the cheapest option in this category and it isn't trying to be.
The Quick Verdict
A genuinely heavy-duty metal pegboard that held real tool weight without sagging for a full season. Worth it if you want a wall that actually holds up, not the right call if you just need somewhere to hang three hand towels.
Amazon Check Today's Price →Tired of Losing the Same Drill Every Weekend?
If your garage wall is a pile of hooks that gave up or a warped board from the hardware store, the metal panel underneath is the whole difference. See why the Wall Control kit is holding a 4.7-star rating across nearly 6,000 reviews.
Amazon Check Today's Price on Amazon →How I've Used It
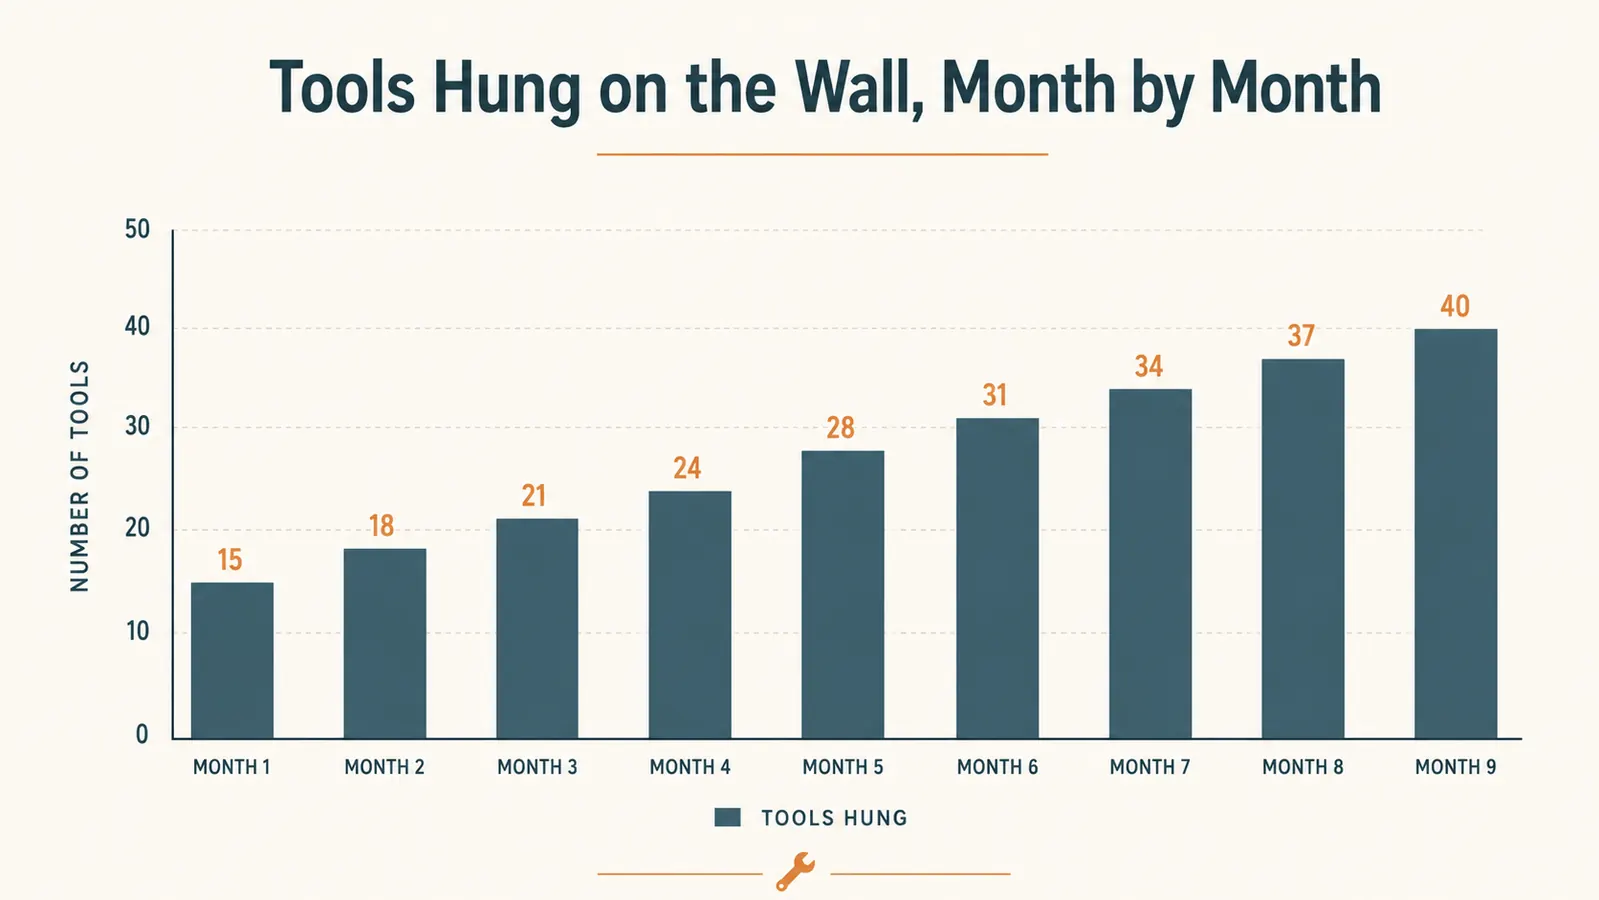
We mounted the two panels side by side across a stretch of studs on the back wall, using the metal mounting rails that come in the kit rather than trying to shim it out ourselves. That part took a Saturday morning, mostly because we stopped twice to relocate an outlet cover that was in the wrong spot. Once it was up, the loading process was almost embarrassingly satisfying. We hung Dale's most-used wrenches on the included hook assortment first, then worked outward: a hand saw, two levels, a stud finder, the extension cords that used to live in a tangled heap on the floor, and eventually the garden hand tools that had been rusting in a bucket by the door.
By month three, our neighbor Theo started borrowing tools regularly, which told me the wall had done its real job: everything was visible enough that a person who didn't live in our house could find what they needed without asking. By month six, our son Wyatt's bike helmet and a spare set of pedals had migrated onto the board too, because it turned out to have more room than the tool collection alone needed. Nine months in, the panels haven't sagged, warped, or pulled away from the studs, and the black powder coat still looks close to new except for a few scuffs where a hammer head has grazed it going in and out of its hook.
The one thing I underestimated was how often we'd rearrange it. Because the holes sit on a standard 1-inch grid and the hooks lift straight out, moving a whole section around takes about five minutes. We reorganized by project type in month two, then by frequency of use in month five, and neither change involved a single new hole drilled.
Mounting It: Stud Spacing and the One Snag We Hit
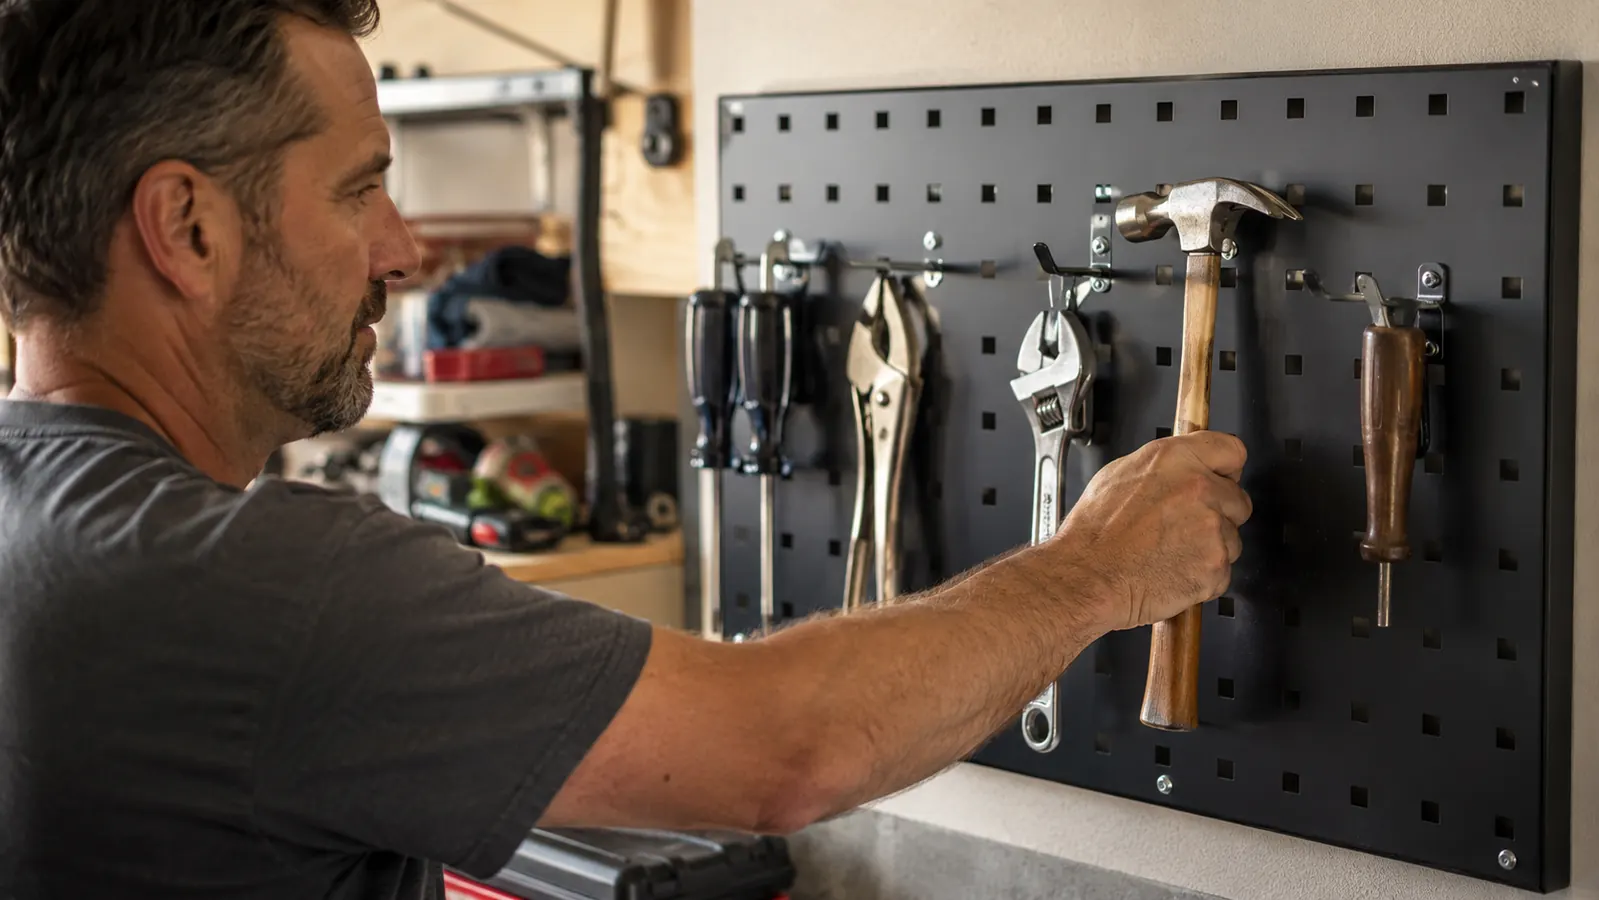
Our garage studs run on the standard 16-inch layout, which matched up cleanly with the Wall Control panel's mounting slots and made the install straightforward once we found a stud finder that actually worked through the old drywall. If your studs are on an unusual spacing, or you're mounting onto a masonry wall instead of framed drywall, budget extra time and a different set of anchors than what's in the box, since the included hardware assumes a standard wood-stud wall.
The one snag we hit was leveling the two panels against each other. The kit doesn't include a bubble level, and hanging the second panel a quarter inch off from the first is an easy mistake to make if you're eyeballing it. We borrowed Theo's four-foot level halfway through, and I'd tell anyone doing this to have one on hand before they start rather than mid-project like we did. Once both panels were level and squared, the actual hanging of hardware onto the mounting rails took less than ten minutes.
Metal Panels vs. The Pressboard We Replaced
Our old pegboard was the standard tan hardboard sold in most hardware stores, and it did the job for about two years before it started to sag between studs and the pre-drilled holes began to chew out from repeated use. Metal doesn't have that problem. The Wall Control panels are stamped steel with slots instead of round holes, which sounds like a small difference but changes how the hooks behave day to day. Slots let you hang things at a slight angle without a hook popping loose, something that matters more than you'd think when you're one-handed, holding a wrench, and trying to hang it back up before it hits the floor.
The other real difference is moisture. Our garage isn't insulated, and it gets humid in summer and bone dry in winter. The old hardboard swelled and shrank with the seasons, which is exactly why it eventually warped. Steel doesn't care. Nine months through two full seasonal swings, the panels are dead flat, still exactly as square as the day we mounted them.
Nine Months of Real Weight, Not Marketing Weight
Every pegboard listing claims impressive weight capacity, and most of the time you never find out if that's true because you never load a board heavy enough to test it. We did, mostly by accident. At one point our board was holding a full ratchet set in its case, a hand drill, two clamps, a coil of rope, and a small toolbox all at once while we were mid-project and hadn't put anything away. Nothing bent, nothing pulled loose, and the Wall Control panel itself didn't flex when I pressed on it near the heaviest cluster.
That's the difference between a metal system rated for real tool weight and a board that's technically rated for it on paper but flexes the moment you actually load it. I wouldn't hang a car jack off it, but for hand tools, small power tools, cords, and garden equipment, it's carried more than I expected without complaint. Our heaviest single load, a cordless circular saw resting in a wide hook, has stayed put through months of the garage door slamming shut on windy afternoons, which is a vibration test no showroom floor ever gives a product.
If you're weighing this against a slatwall setup instead, we actually did that comparison ourselves before buying, and wrote up the full breakdown here: pegboard vs. slatwall panels for a garage wall. The short version is that slatwall handles bins and shelving better, and metal pegboard handles a large number of individual small tools better, which was our actual problem.
The Hook Kit, and What I Bought Separately
The kit ships with a starter assortment of metal hooks in a handful of sizes, along with the mounting hardware for the panels themselves. It was enough to get roughly two thirds of our tools hung on day one. What it didn't cover were a few oddly shaped items: a coiled extension cord, a rubber mallet with a wide head, and a small caddy of spray paint cans. For those we picked up a second small hook multipack in a different style, which slid onto the same slots without any adapter or extra hardware.
If your garage leans heavily toward one category of tool, plan on buying at least one extra hook pack. It isn't a flaw in the kit so much as a reality of how varied a working garage's contents actually are. The panels themselves are the expensive, hard-to-replace part, and they're built to accept basically any standard pegboard hook on the market, not just the brand's own.
What I'd Do Differently
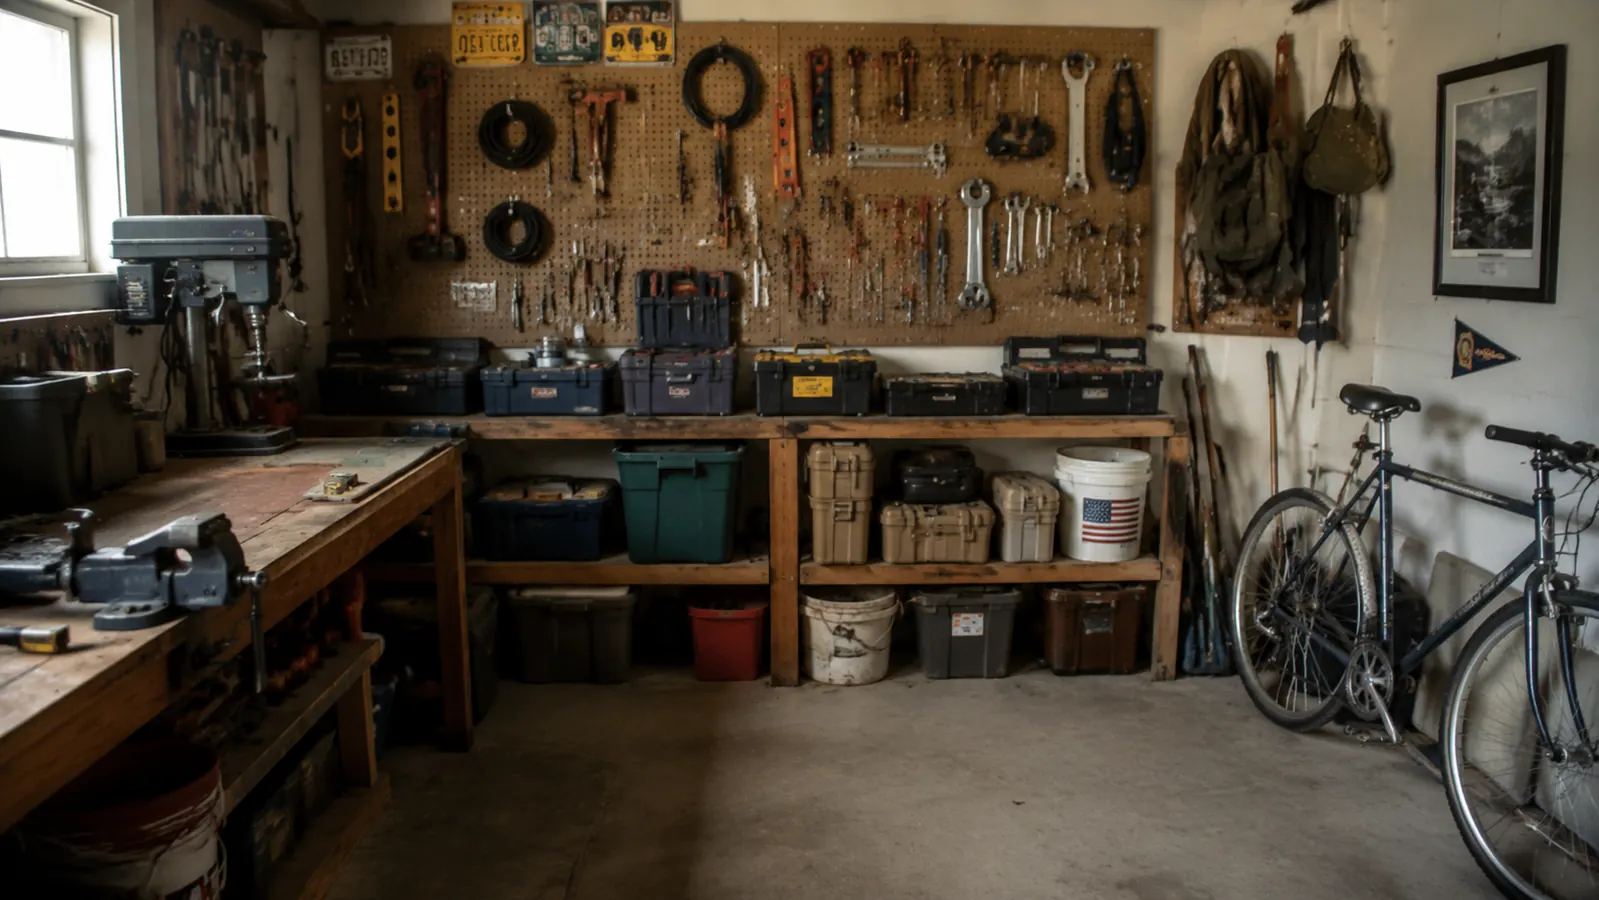
If I mounted this again, I'd buy the extra hook variety pack on day one instead of a month in, since we ended up ordering it anyway once the oddly shaped items showed up. I'd also plan panel placement around our existing shelving first. We had to shift a small shelf about eight inches to give the board room, which was a ten-minute annoyance we could have avoided by measuring the whole wall before we started instead of just the Wall Control panel width.
For a full breakdown of why we chose pegboard over the slatwall option we also considered, with a side-by-side on cost, install difficulty, and weight capacity, see this comparison. And if you're still deciding whether a pegboard system is the right approach at all for a cluttered garage, we laid out the specific reasons it tends to work in 10 reasons pegboard systems fix garage clutter.
What I Liked
- 22-gauge steel panels haven't sagged, warped, or bent after two full seasonal humidity swings
- Standard slotted grid accepts any generic pegboard hook, not just the included set
- Rearranging tool layout takes minutes with zero new holes drilled
- Black powder coat still looks close to new after nine months of daily hammer and wrench traffic
- Handled a genuinely heavy mixed load without the panel flexing
Where It Falls Short
- Included hook assortment doesn't cover oddly shaped tools; budget for a second hook pack
- Mounting requires locating and drilling into studs, which is more work than a stick-on hook rail
- The two panels together are heavier than a hardboard equivalent, so a second set of hands helps during install
- Metal edges are a little sharp along the panel border until you get used to where they are
The old board sagged in two years. This one hasn't moved a millimeter through a full summer and winter, and that's the entire reason we stopped buying replacement pegboard every few years.
Who This Is For
This is built for someone who actually uses their garage the way ours does: a working space where tools come off the wall and go back on multiple times a week, not a display for tools that sit untouched. If you have a real mixed collection of hand tools, cords, and garden equipment that currently lives in bins, buckets, or on the floor, and you want them visible and reachable without digging, this earns its spot on the wall. It's also a good fit if you've already tried a cheap hardboard pegboard and watched it sag or pull loose, because the upgrade is mostly about durability, not looks. It's worth it too if more than one person in the house uses the garage, since a labeled, visible wall cuts way down on the constant question of who moved which tool where.
Who Should Skip It
If you rent and can't drill into studs, or if your garage storage problem is mostly large bulky items like coolers, storage totes, and sports equipment rather than small tools, this isn't the right first purchase. A pegboard wall solves the problem of scattered small items you want visible and grabbable, not bulk storage. And if your garage wall space is already tight or blocked by shelving you can't move, measure carefully before ordering, since two full panels need a genuinely open stretch of wall to earn their keep. In that case shelving or the slatwall setup we compared it against in our side-by-side is probably the better starting point.
See Why Nearly 6,000 Garages Have Switched to Metal
A season of real use is the only test that matters, and this one held up to ours. If your garage wall is due for an upgrade that won't sag by next summer, check the current price and availability.
Amazon Check Today's Price on Amazon →