
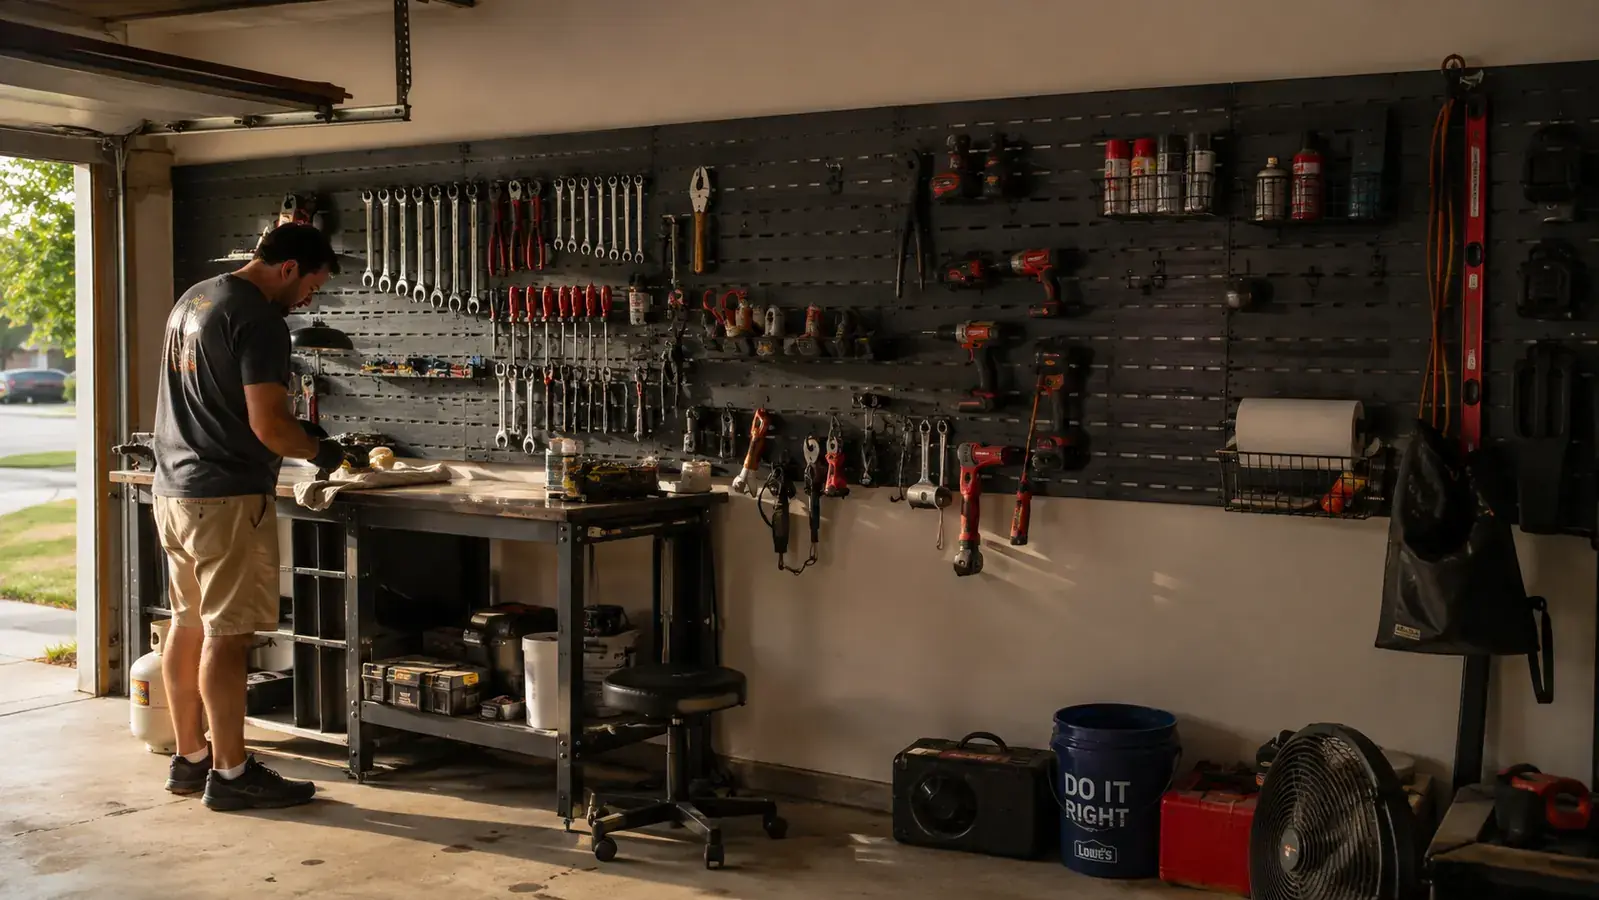
The problem with most garage walls isn't that people don't own enough hooks. It's that they hang a few hooks, load them up over a busy weekend, and by month two the wall looks exactly like the pile it replaced: things hung wherever there was room, with no logic behind where anything landed. A Wall Control pegboard system only works if you build the layout before you build the wall, and that's the part almost every how-to skips in favor of just showing you where to drill.
This is the process I use when I set up a Wall Control pegboard wall for someone, whether it's a two-car garage that's turned into overflow storage or a one-stall space where every tool has to earn its spot. It's built around the metal panel kit I use most often, the Wall Control 4 ft. system, because the standard 1-inch metal grid holds up to real hook weight in a way the tan hardboard from the hardware store doesn't. But the layout steps below work with any pegboard system. The mounting and the mapping are the part that actually matters, and they're the part that determines whether the wall still looks organized a year from now instead of six weeks from now.
Start with a panel rated for actual tool weight, not just hooks
A lot of pegboard sags within a year because the board itself was never built to carry a full garage's worth of tools. The Wall Control metal kit is the one I mount when I want the wall to still be flat and level a year from now.
Amazon Check Today's Price on Amazon →Step 1: Map your wall and your tool pile before you buy a single hook
Before anything goes on the wall, pull every hand tool currently living in drawers, buckets, and the bottom of that one cabinet nobody opens. Lay it all out on the garage floor or a folding table. This step feels slow and it is the single biggest predictor of whether your pegboard wall still looks organized in six months.
Sort into rough groups as you go: hand tools you reach for weekly, seasonal or yard tools, cords and hardware, and anything oversized like a shop vac hose or a car jack that probably belongs on the floor or a shelf instead of the board. My husband Grant tried to skip this step the first time we set up our own garage wall and just started hanging whatever was closest to him. Six weeks later half the hooks held things we hadn't touched since spring, while the wrenches we actually used were still living in a drawer because there was no room left.
Measure your wall space at this point too. A single 4 ft. panel gives you a fixed amount of pegboard real estate, and knowing that number before you sort tools keeps you from planning a layout that needs twice the wall you actually have. If you're only measuring one panel's worth of space but you've pulled out three garages' worth of tools, that mismatch is information, not a failure. It usually means a portion of what you own belongs in a cabinet or bin system instead of hung on the wall at all.
This is also the point to be honest about duplicates. Most garages that have gone unsorted for a few years end up with three flathead screwdrivers and two claw hammers because it was faster to buy a replacement than dig through a drawer. Set the extras aside in a box for the garage sale pile or a neighbor who's just starting to build a tool collection. A Wall Control pegboard wall works best when every hook holds one tool, not a backup for a backup.
Step 2: Find your studs and mount the panel level
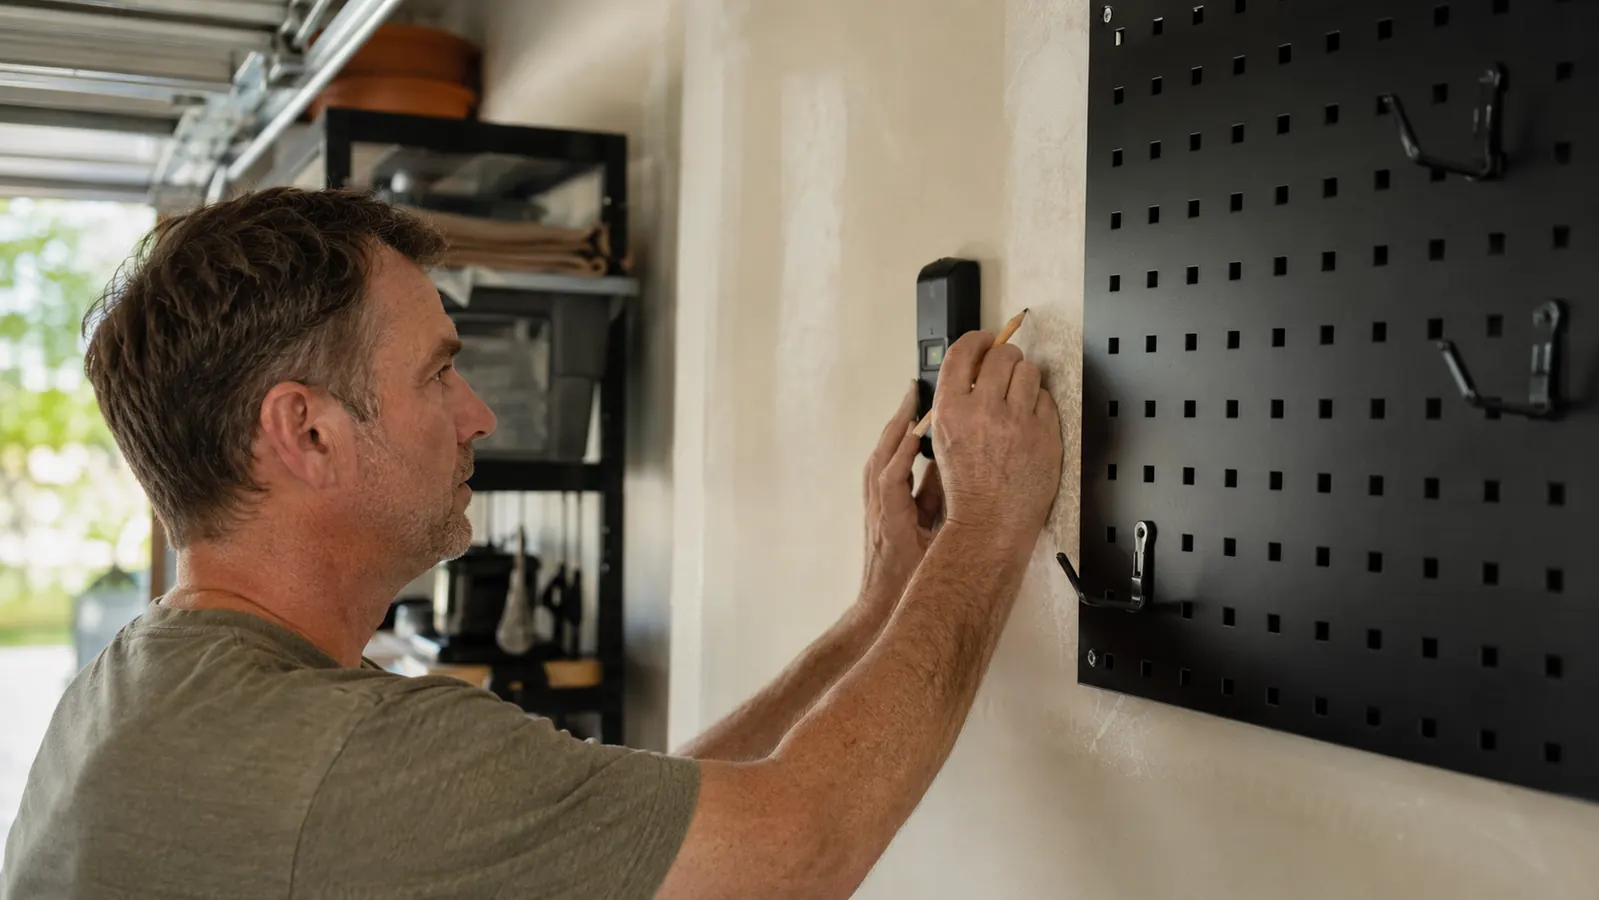
Run a stud finder across the section of wall you've chosen and mark every stud with a pencil line, not just a dot, so you can see the line even after a hook or panel edge covers part of it. Most garage framing runs on a standard 16-inch layout, which usually lines up cleanly with the Wall Control panel's mounting rail slots, but always confirm on your actual wall rather than assuming.
Mount the metal rail first, screwed straight into studs rather than drywall alone, since a loaded pegboard wall is heavier than it looks once forty tools are hanging on it. Use a real level here, not the eyeball method. A panel that's a quarter inch off at one end will be visibly crooked by the time it's loaded with hooks, and it's much easier to catch that before you've hung a single wrench than after.
If you're mounting two panels side by side to cover a wider wall, as most working garages need, get the first one perfectly level before you touch the second. Everything after that lines up off the first panel, so any error there compounds across the whole wall. Give yourself a full Saturday morning for this step if you're doing two panels, and don't rush the leveling to get to the fun part, which is actually hanging tools.
Step 3: Divide the board into zones before you hang a single tool
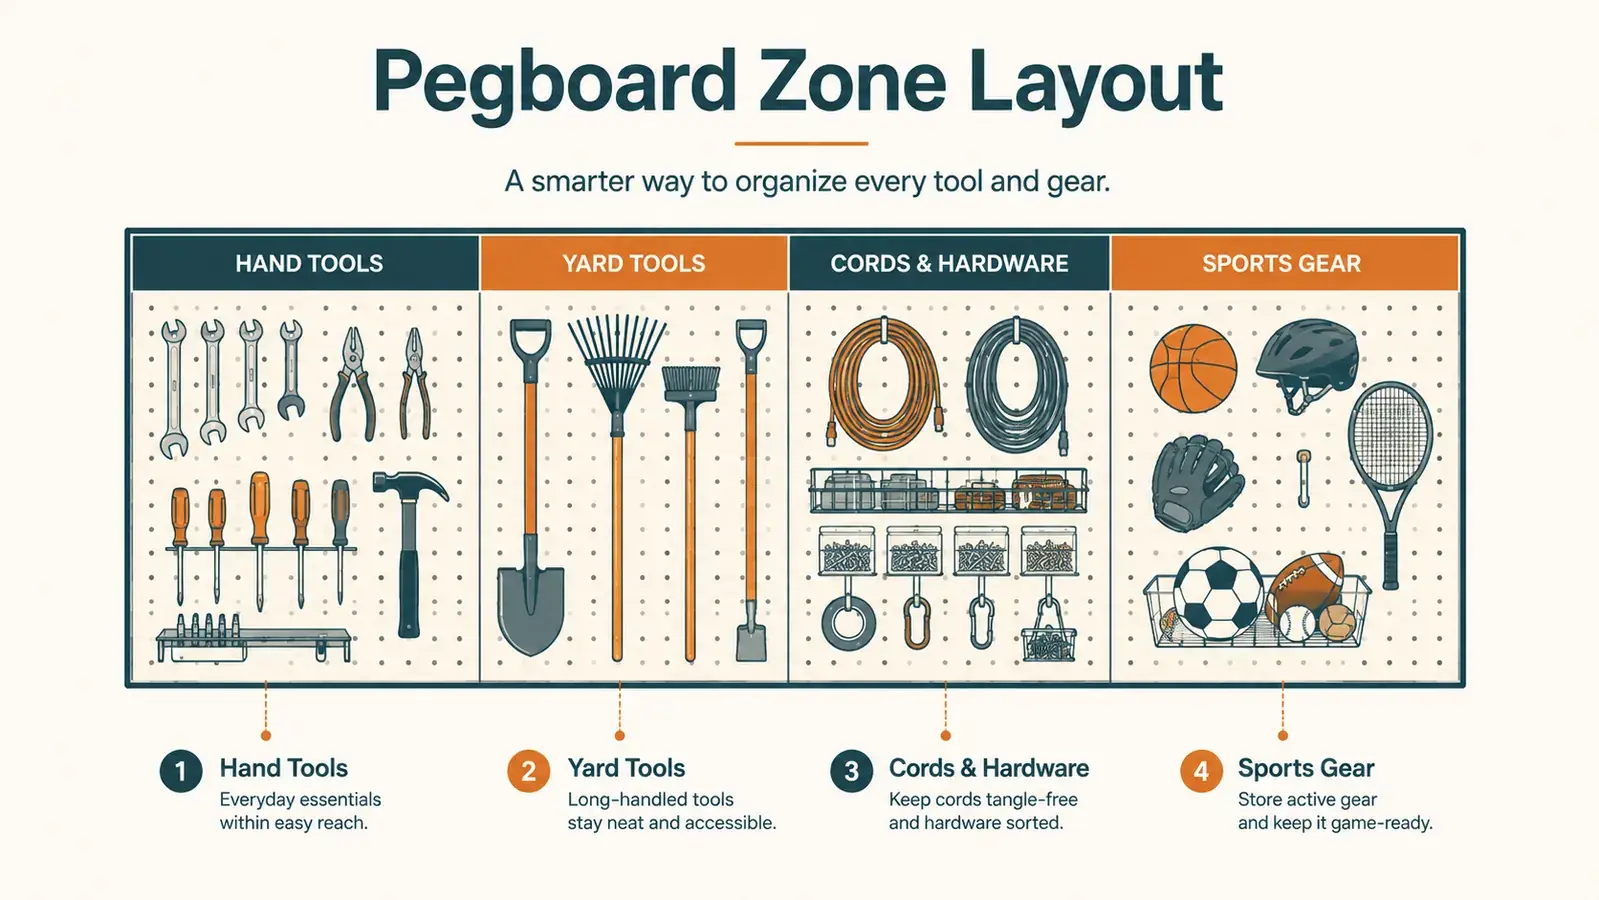
This is the step that turns a pegboard into an actual system instead of a wall of random hooks. Using painter's tape or a pencil, lightly section the board into zones based on the groups you sorted in step one: hand tools on the left, yard and outdoor tools in the middle, cords and small hardware bins on the right, whatever layout matches how your household actually moves through the garage.
Leave visibly more open space in each zone than you think you need. A board that's 80 percent full on move-in day has nowhere to go when you inevitably buy a new tool or borrow one from a neighbor and forget to give it back. I plan for roughly a third of open pegboard space in every zone on day one, and I tell clients to resist the urge to fill that space just because it's there. Empty pegboard isn't wasted pegboard, it's future capacity.
Step 4: Hang hooks by reach frequency, not by tool size
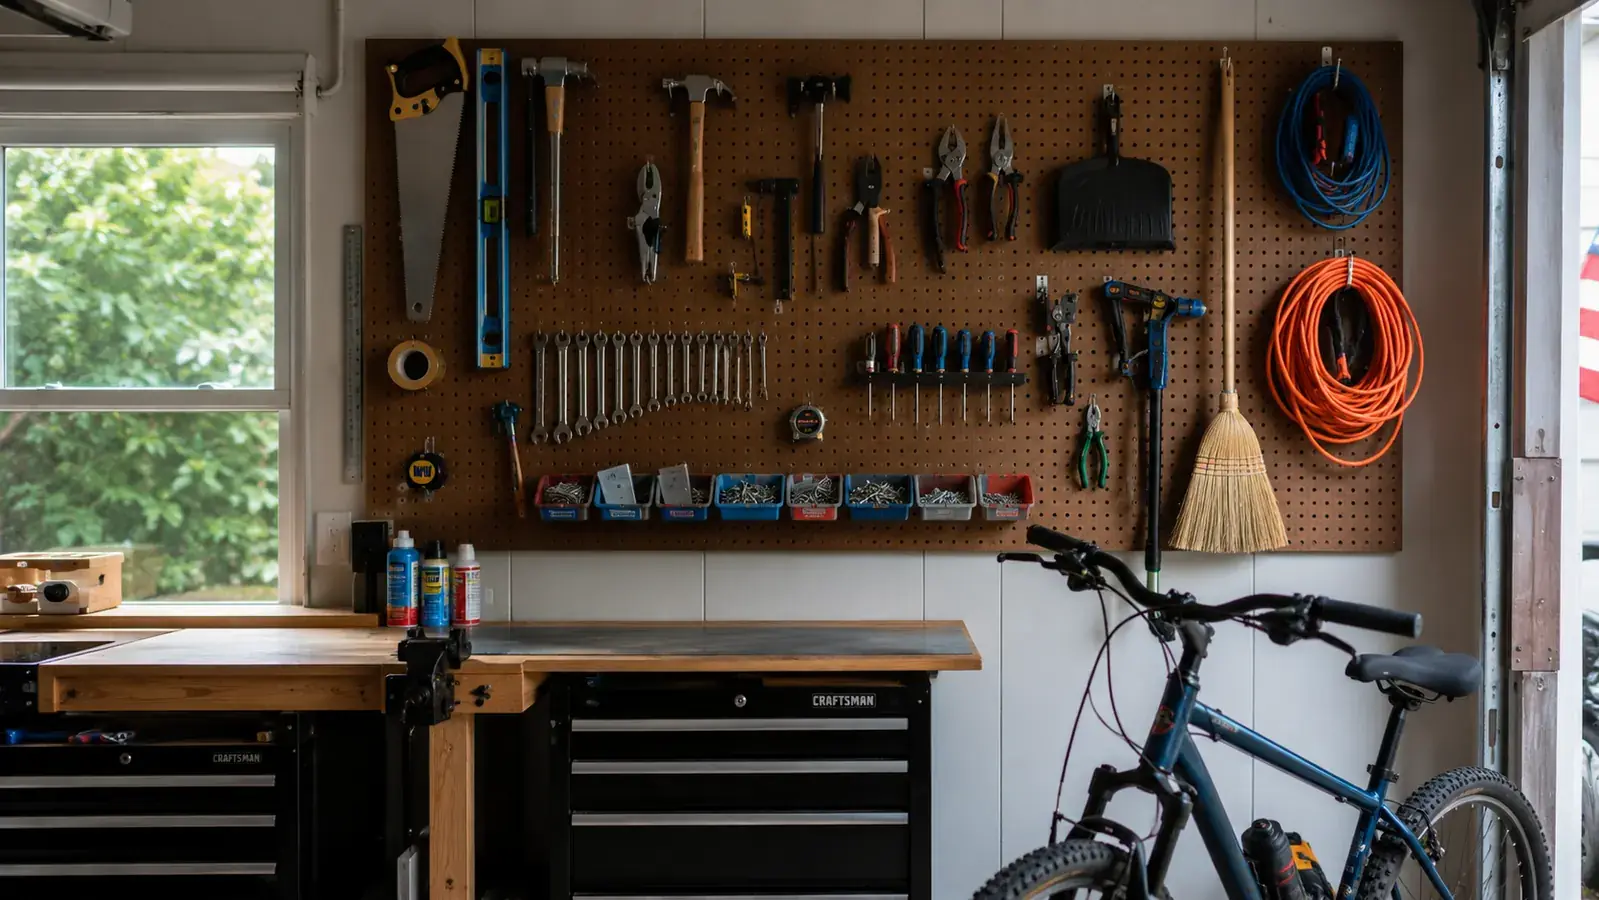
Once the zones are marked, hang the hooks for your most-used tools at chest to shoulder height, dead center in their zone. Everything else, the tools you grab a few times a season, goes lower or to the outer edges. It's tempting to organize by tool size instead, biggest hooks at the bottom, but reach frequency is what actually determines whether the wall gets used or ignored after the first month.
The kit comes with a starter assortment of metal hooks in several sizes, which is usually enough to get most of a household's hand tools hung on day one. If your garage leans heavily toward one category, oddly shaped pruning shears, a full ratchet set, a couple of long-handled yard tools, plan on ordering a supplemental hook pack rather than forcing everything onto hooks that don't quite fit. Forcing a tool onto the wrong hook is exactly how a pegboard wall starts looking messy again within a few weeks.
Because the holes sit on a fixed grid and hooks lift straight out, this step doesn't need to be permanent. Hang, live with it for a week, and move anything that isn't landing in the right spot. My neighbor Felix, who borrowed our stud finder for his own garage project, called this the part he wished someone had told him about ahead of time. He'd assumed the layout had to be right the first time, and it doesn't. Some organizers trace an outline around each tool once the layout has settled, so a missing hammer is obvious at a glance. It's a nice finishing touch, but it's worth waiting until after the first few rounds of rearranging so you're not retracing outlines every other week.
Step 5: Build in a monthly five-minute reset
A pegboard wall isn't a one-time project, it's a system that needs a light touch on an ongoing basis. Once a month, walk the wall and move anything that's ended up in the wrong zone, whether that's a tool someone grabbed and rehung in the wrong spot or a new purchase that needs its own hook. Because the grid makes rearranging fast, this genuinely takes five minutes if you do it regularly instead of letting six months of drift pile up.
This is also the moment to notice which hooks are consistently empty. An empty hook for three months straight usually means that tool actually lives somewhere else in your workflow, like a truck toolbox or a bag by the door, and the hook can be reassigned instead of held for a tool that never comes back to the wall. Put a reminder on your phone for the first Saturday of the month if you know you won't do this on your own. It sounds excessive for a garage wall, but it's the difference between a pegboard that still works in year two and one that quietly turns back into a pile with a board behind it.
What Else Helps
A pegboard handles hand tools and mid-size items well, but it isn't the right home for everything in a working garage. Small hardware like screws, anchors, and drill bits does better in clear bins mounted to a shelf below the board than hung loose on hooks, since a stray screw on a hook just ends up on the floor. Bulky items, coolers, storage totes, sports equipment, are usually better on a shelf or in a bin system entirely separate from the pegboard wall. Trying to force every category of garage clutter onto one wall is how a lot of pegboard setups end up overloaded and cluttered again within a year.
A shallow shelf mounted just above or below the panel also gives you somewhere to set down a tool for a minute without a hook, which matters more than it sounds like it would. Most of the clutter that creeps back onto a garage floor started as something set down "just for a second" with nowhere obvious to go.
Seasonal tools are worth planning around too. Snow shovels, sprinkler parts, or holiday decorating tools don't need a permanent hook if they only come out for a few weeks a year. Store them in a labeled bin on a nearby shelf and rotate them onto the board only during their season, freeing up that hook space the rest of the year for tools you're actually reaching for.
If you're still deciding between a metal pegboard system and a slatwall panel setup, we put together a full side-by-side on cost, install difficulty, and weight capacity here: pegboard vs. slatwall panels. And if you want the longer story of how this exact panel held up over a full season of real, heavy use in a working garage, not just the install, that's covered in our long-term pegboard review.
The wall doesn't organize your garage. The zones you draw on it before you hang a single hook do.
Mount it once, stop redoing it every spring
A metal pegboard grid that stays level and holds real tool weight is what makes steps three through five above actually work long term. Check current availability and price before you plan your layout.
Amazon Check Today's Price on Amazon →