
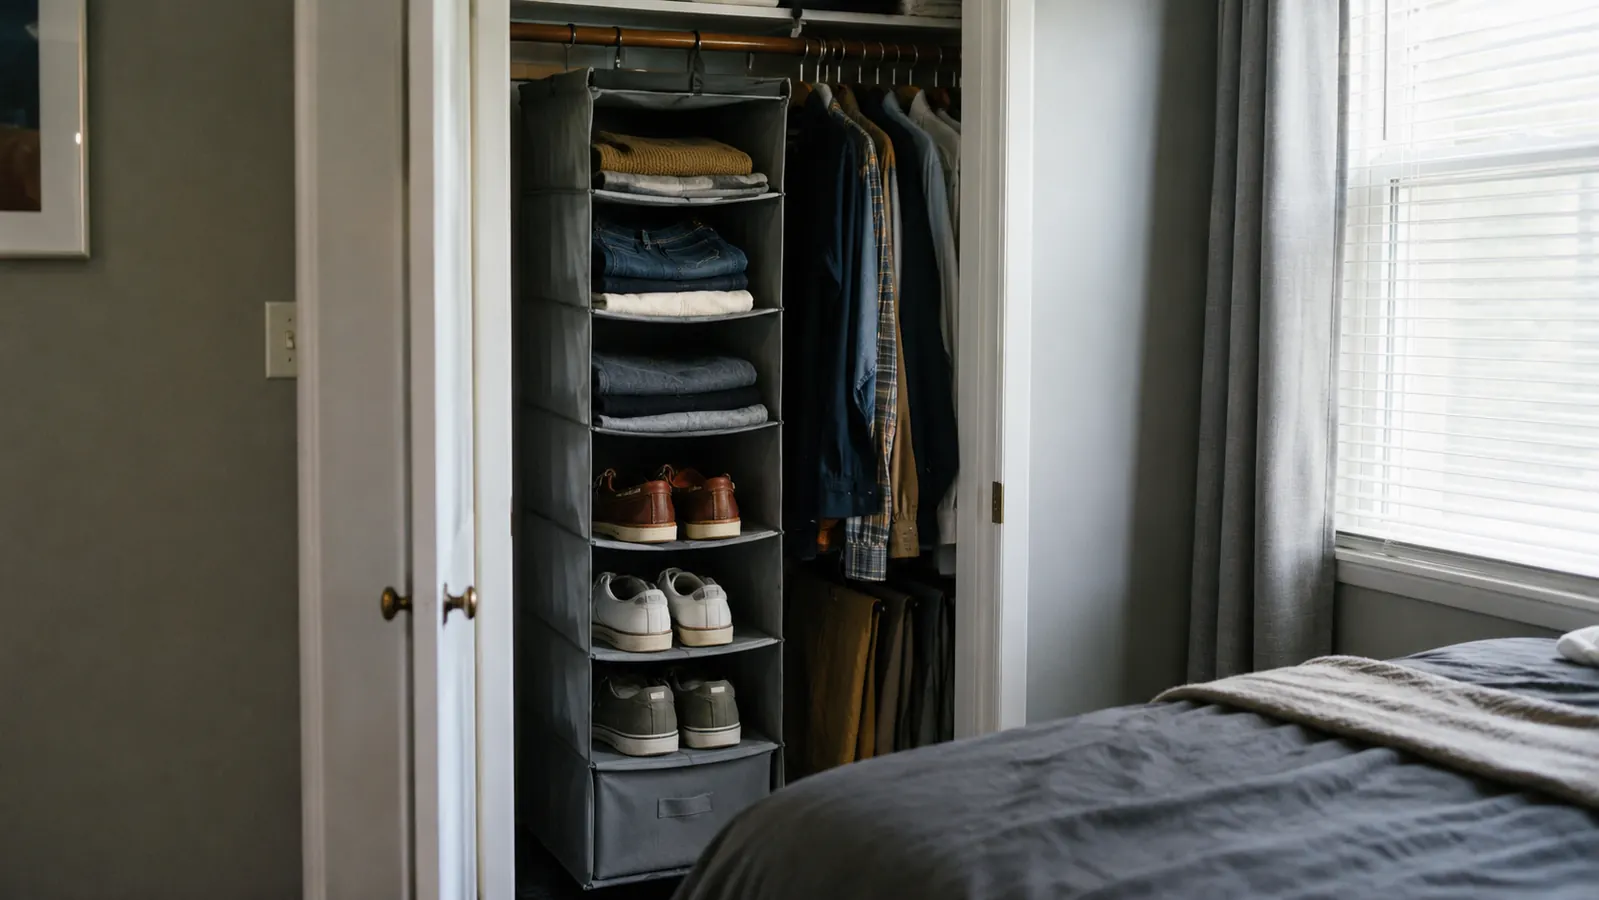
My son's closet is 24 inches wide. I know this because I measured it three times before I believed it, hoping the tape measure was wrong. It wasn't. That closet had one rod, one shelf above it, and about four square feet of floor that somehow always ended up holding a hamper, a soccer bag, and a growing pile of shoes nobody put away. We tried bins that tipped over every time the door opened. We tried a second rod that just meant twice as many hangers jammed together. What actually fixed it was the cheapest thing we tried: a hanging closet organizer that clips onto the existing rod and adds five shelves without a single screw in the wall.
If you've got a small closet that's fighting you, a Simple Houseware closet organizer that hangs from the rod is usually the fastest real fix, faster than a custom closet system, cheaper than shelving, and it comes back out with you if you move. It also doesn't require a weekend, a drill, or a trip to the hardware store, which matters when you've got twenty minutes between school pickup and dinner and you just want the closet to stop losing.
Below is the exact process I used in both my son's closet and, later, my own coat closet by the front door. It's not complicated, but the order matters more than people expect. Skip the sorting step and you'll just be organizing clutter into neater piles. Do it in order and the whole thing takes about an hour, most of which is the sorting.
The Closet Organizer I'd Actually Buy Again
This is the 5 shelf hanging closet organizer I put in my son's closet and, six months later, my own. It clips onto any standard rod in under two minutes, no drill, no anchors, and it holds more than it looks like it should.
Amazon Check Today's Price on Amazon →Step 1: Empty the closet completely and sort into three piles
Don't organize around what's already in there. Pull everything out, floor included, and make three piles: keep, donate, and doesn't belong in this closet (the winter coats living in the hall closet, the board games that migrated in during a move). This step takes twenty minutes and it's the one most people skip, which is exactly why the closet fills back up the same way six months later.
While the closet is empty, wipe down the rod and shelf. Small closets collect dust fast because nobody sees the back corners. Two minutes with a damp cloth now means you're not doing it later with everything back inside, and it's a lot easier to vacuum a bare floor than one covered in shoes and stray socks.
Be honest about the donate pile. In my son's closet that meant three pairs of cleats he'd outgrown and a hoodie he hadn't worn since it stopped fitting over his head easily. Nobody needs a closet organizer to hold clothes that don't get worn, that's just paying storage rent on stuff you should let go of.
Take a photo of the empty space with your phone. You'll use it in Step 2 to plan where the Simple Houseware hanging closet organizer actually needs to sit so it doesn't block the door swing or the light switch, both mistakes I made the first time I hung one in a hurry.
Step 2: Measure the rod length and hanging clearance
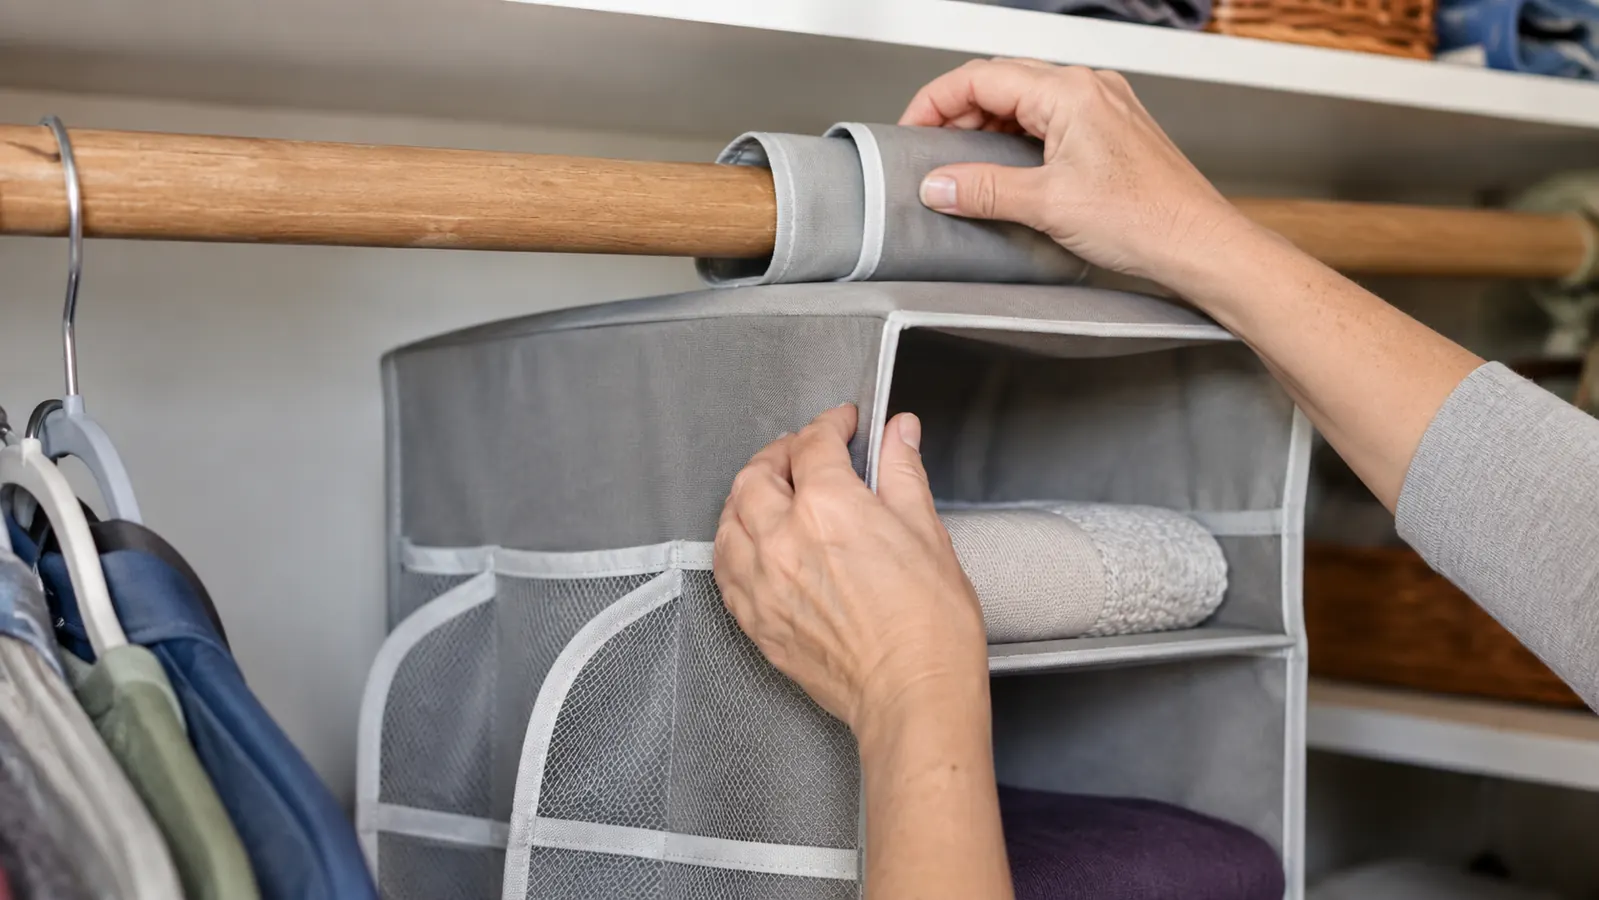
Most hanging shelf organizers need about 10 to 12 inches of rod clearance and roughly 40 to 48 inches of vertical drop, depending on how many tiers it has. Before you order anything, measure from your closet rod down to the floor, and subtract at least 2 inches so the bottom shelf clears any baseboard, shoe pile, or vacuum you're storing down there.
In my son's closet, the rod sits 66 inches up, which left plenty of room for a 5 shelf unit with about 8 inches to spare at the bottom. In my own closet, an older house with a lower rod, I had to double-check the drop length before ordering because I only had about 42 inches to work with. A tape measure and thirty seconds saved me from ordering something that would've dragged on the floor.
If your closet has double-hung rods (one up top, one lower), a hanging closet organizer usually goes on the upper rod, sharing space with folded-clothing hangers rather than full-length garments. It's a tighter fit but it still works, you just want fewer, wider hangers next to it rather than a packed row of thin wire ones.
One thing worth checking before you buy: rod diameter. Standard closet rods run about an inch and a quarter, but older homes sometimes have thinner or oval rods, and a few newer builds use the flat wood-tone shelving with a built-in rail underneath. Most hanging organizers fit standard round rods fine, but if yours looks unusual, measure it before you order rather than after.
Step 3: Hang the organizer and check it's level
This part takes about ninety seconds. Hook the top loop over the rod, let the shelves drop, and step back to check it's hanging straight and not twisted. If your rod is wire rather than solid wood or metal tube, some organizers can pull slightly to one side under weight, so give it a gentle tug test on all five shelves before you load anything heavy.
I'd recommend positioning it toward one side of the closet rather than dead center, so you still have room for a few hangers on either side. Center placement looks tidy in photos but it's the least practical layout for daily use, you end up squeezing hangers in from both directions, and reaching the far shelves gets awkward fast.
Once it's hung, push it flush against the closet wall if you have one, which stops the shelves from swinging every time the door opens. This one adjustment cut down on the annoying sway we had the first week, back when it hung freely in the middle of the rod and knocked into hangers every time someone grabbed a jacket.
Step 4: Load heaviest items on the bottom shelves
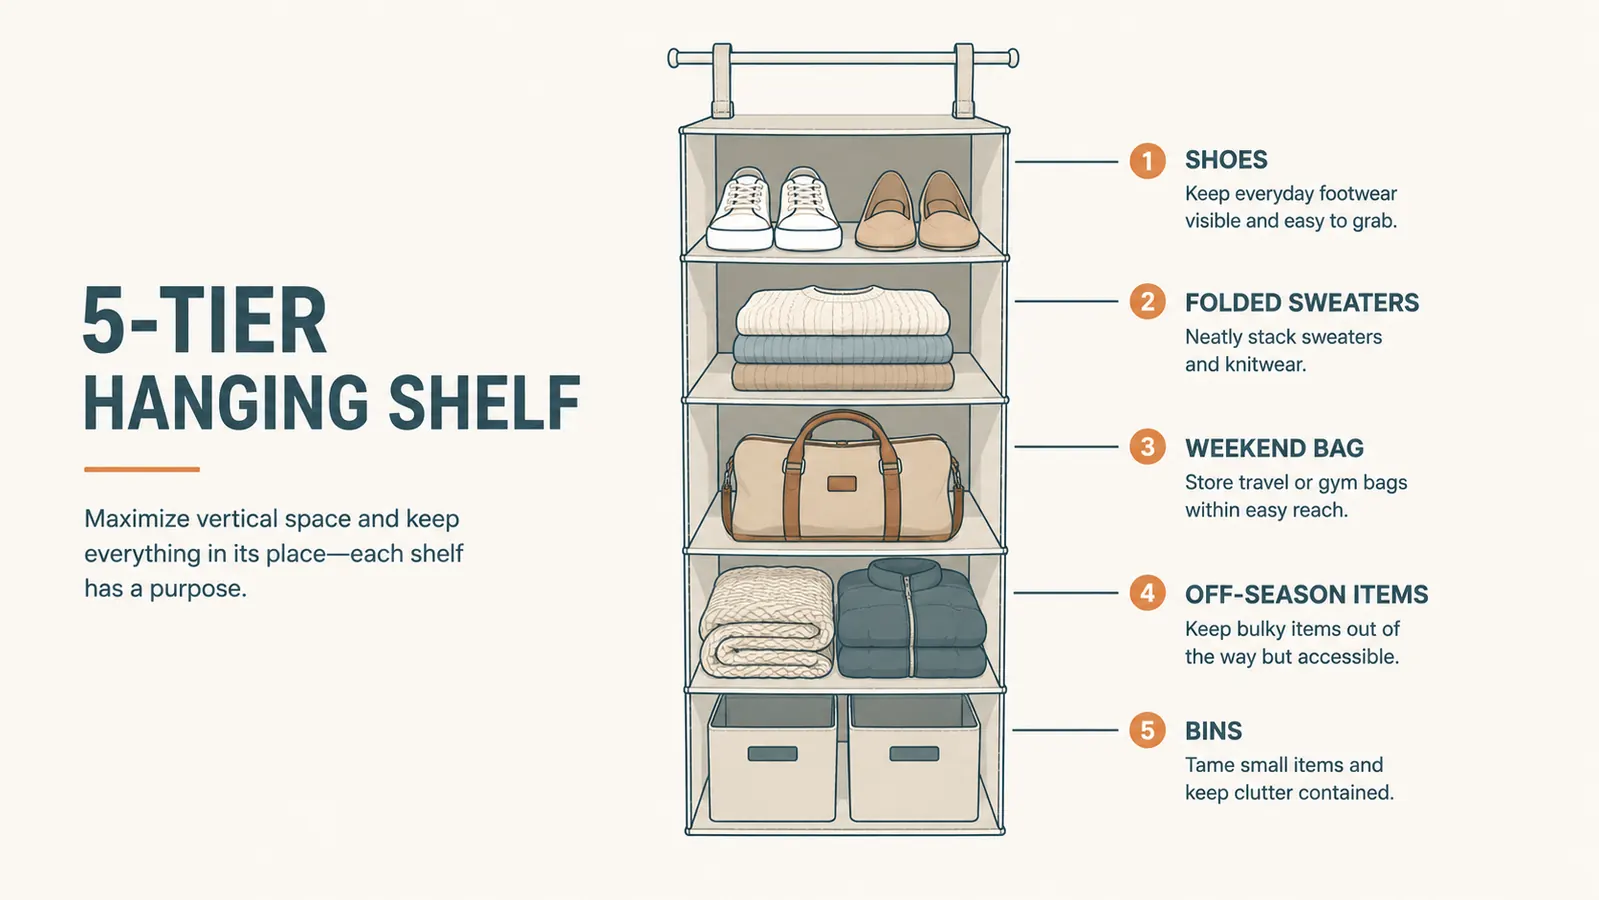
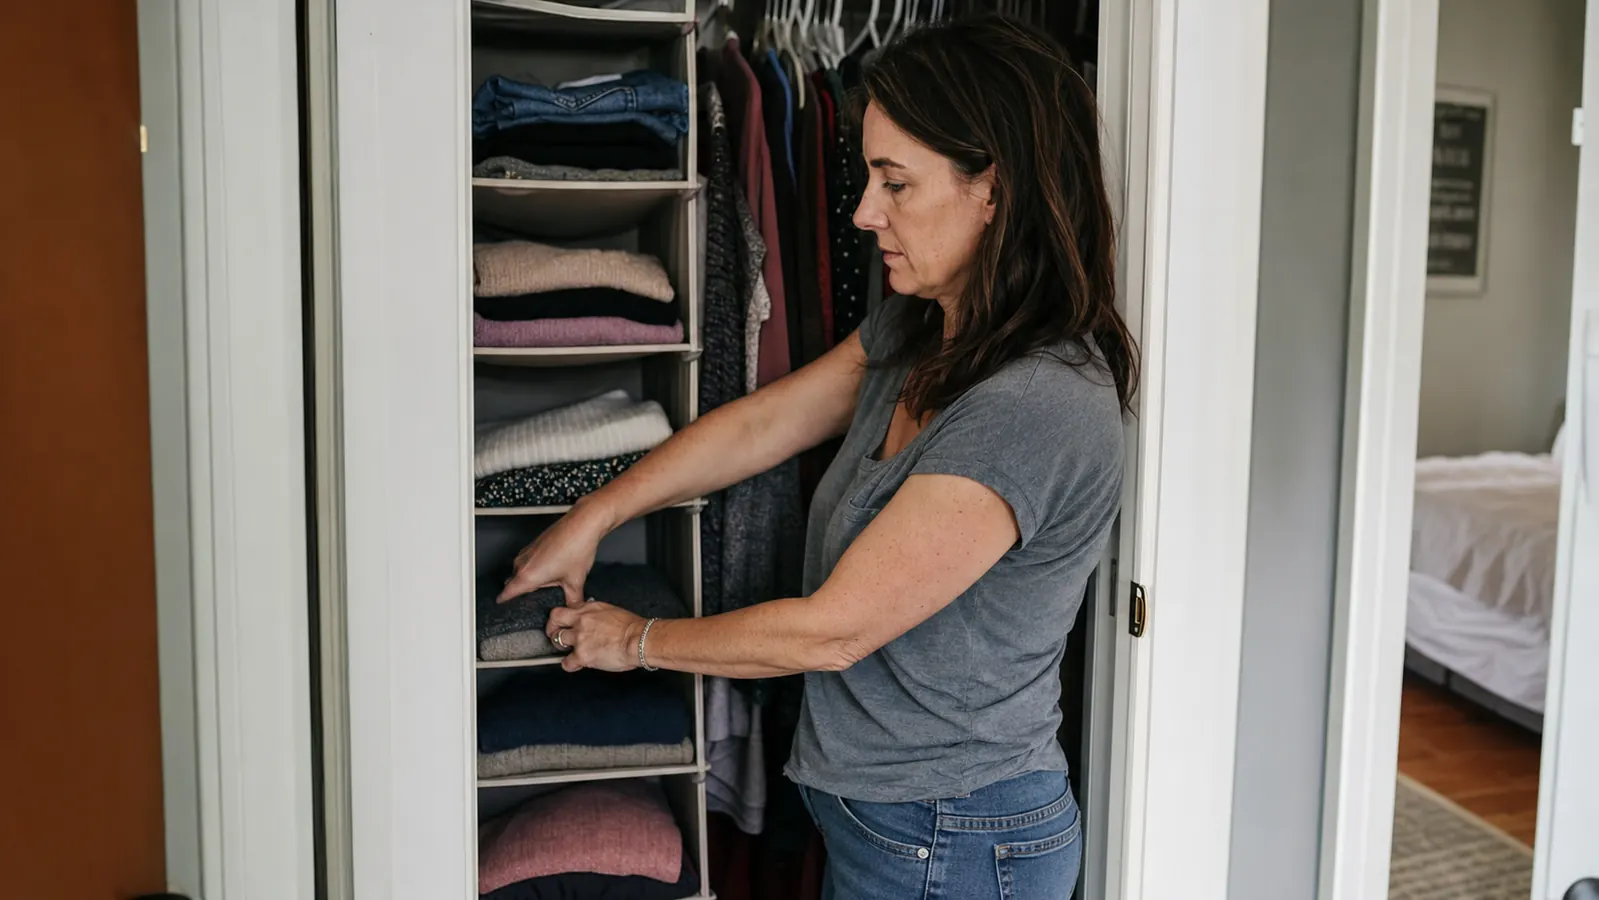
Gravity and daily use both favor loading a hanging closet organizer from the bottom up. Shoes, weighted bags, and bulkier folded items (jeans, sweatshirts) go on the lowest one or two shelves. This keeps the whole unit stable and stops the top shelves from sagging under weight they weren't meant to carry.
Middle shelves are the easiest to reach, so that's where the things you grab constantly should live, in our house that's folded t-shirts and my son's practice uniform, the one he needs three times a week and would otherwise leave crumpled on the floor. Top shelves are for lighter, less-frequent items: off-season sweaters, a spare blanket, the stuff you touch once a month.
I also stopped trying to stack folded items more than three or four high per shelf. It looks efficient on day one and turns into a landslide by day ten, especially with a nine-year-old pulling a shirt from the bottom of the stack instead of the top. Fewer, flatter stacks actually hold their shape longer, which matters more than cramming in one extra shirt.
Worth knowing before you load it up: canvas shelves like this one aren't built for anything heavier than folded fabric and paired shoes. A stack of hardcover books or a couple of dumbbells will sag the fabric over time, even if it holds fine on day one. Keep the truly heavy stuff on a real shelf and let the Simple Houseware organizer do what it's good at, which is soft goods.
Step 5: Assign each shelf a category and stick to it
The Simple Houseware organizer only works if every shelf has a job. Write it down if you have to, shelf one is shoes, shelf two is folded pants, shelf three is folded shirts, shelf four is the weekend bag and gym clothes, shelf five is off-season. When something new comes in, it either fits the category or it doesn't belong in that closet.
This is the difference between a closet organizer that stays organized and one that becomes a second junk drawer with better posture. We reset ours every Sunday for the first month, about ninety seconds of putting stray items back on their shelf, and after that it mostly held itself together on autopilot. Six months in, we're down to a reset maybe once every couple of weeks.
One habit that helped more than I expected: labeling isn't necessary if the categories are simple and the family knows them, but if more than one person uses the closet, a small piece of masking tape with a word on it removes all the guessing. My son knew exactly which shelf his cleats belonged on because it said so, no negotiating required.
If you're comparing which hanging shelf setup to buy in the first place, I broke down what I liked and didn't after six months of daily use in my long-term hanging closet organizer review, and how it stacks up against built-in shelf dividers in this closet organizer versus shelf dividers comparison.
What Else Helps
A hanging closet organizer solves folded storage, but it won't fix an overloaded rod on its own. If hangers are still jammed wall to wall, add slim velvet hangers, they take up noticeably less width than plastic or wood and free up a few extra inches for the Simple Houseware organizer to breathe. A single over-the-door hook for robes or tomorrow's outfit also keeps things off the closet floor entirely, which matters more in a small closet than a big one since floor space is usually the first thing to disappear.
A small clip-on closet light helps too, especially in windowless closets where you're digging through shelves by feel. It's a five-dollar fix that makes the whole organizer easier to use, because you can actually see which shelf is which instead of guessing in the dark. None of this is complicated, it's just about giving every category of stuff exactly one home instead of letting things drift.
And if you inherit a closet with an oddball layout, an angled ceiling, a rod set too close to a shelf above it, a hanging organizer is still worth trying before you spend on custom shelving. Worst case it doesn't fit and you're out the cost of shipping it back. Best case, which has been true in both closets I've used one in, it solves the problem for less than the price of a nice dinner out.
The closet didn't need to be bigger. It needed every shelf to have exactly one job.
Still Fighting a Closet That's Too Small
Before you knock out a wall or call a closet company, try the fix that took us two minutes to install and has held up daily for six months straight. It's still one of the cheapest ways I know to add real, usable storage to a closet that's too small to renovate.
Amazon See Today's Price on Amazon →