
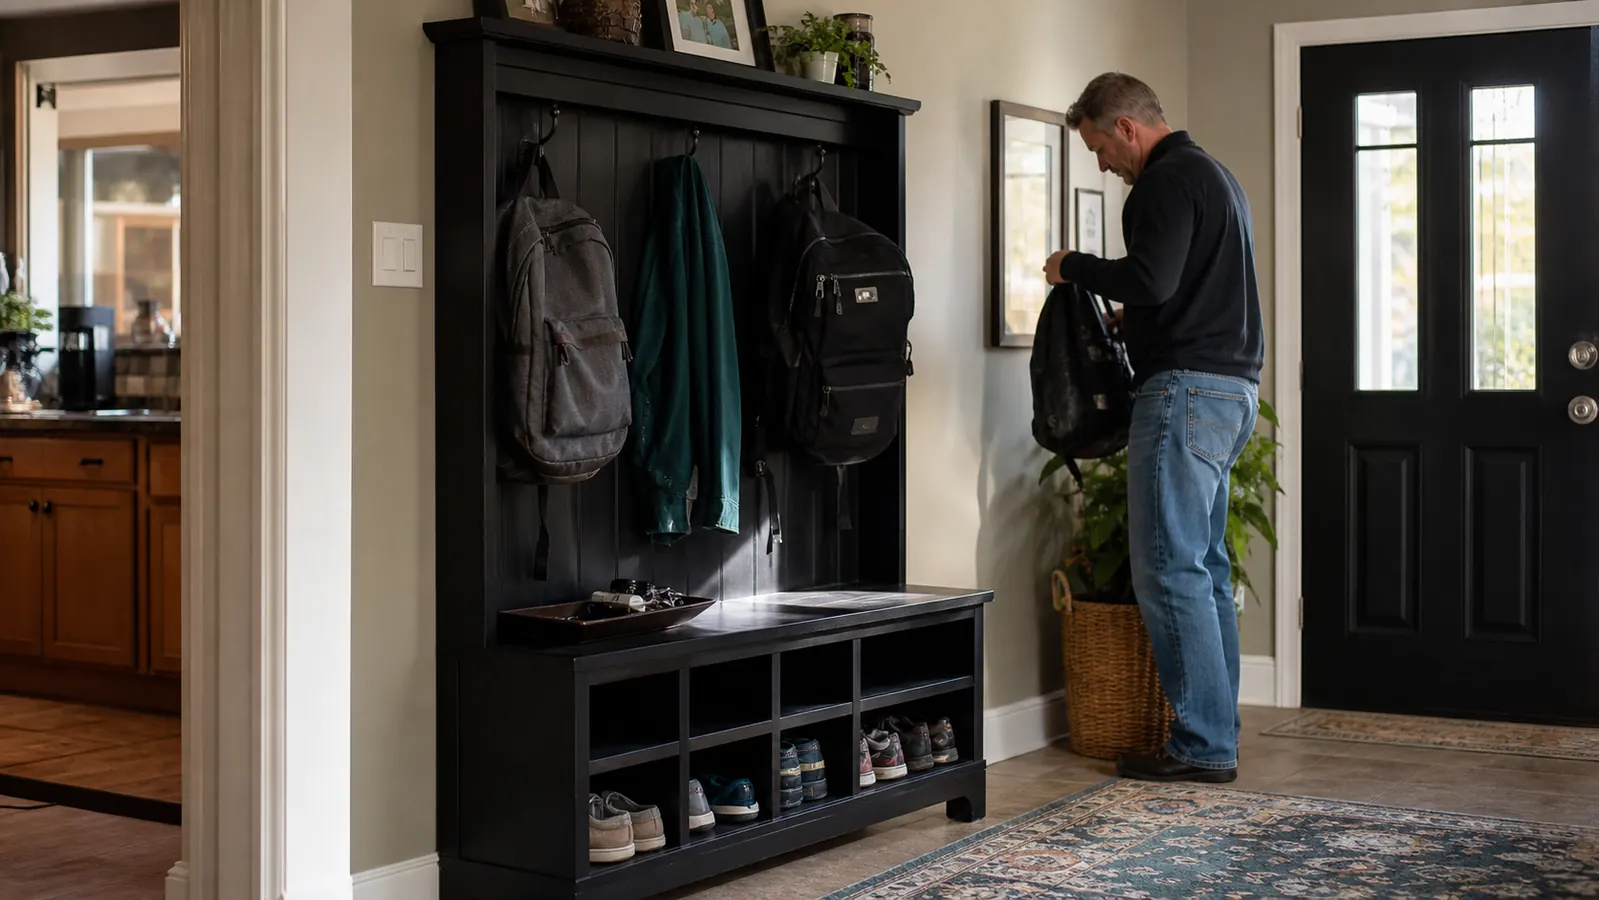
A drop zone isn't a place you decorate. It's a place you engineer so the mess has somewhere to land besides the floor. For years our front entryway was just the first flat surface past the door, shoes wherever they came off, backpacks slumped against the wall, a mudroom in name only. What changed it wasn't a renovation. It was giving the space one job and one piece of furniture built to do it: a hall tree bench with hooks, a seat, and open shoe cubbies underneath, all in one footprint.
This guide walks through the actual setup of a HOMCOM hall tree bench drop zone, not the pretty version, but the one that survives two kids, a dog, and a Tuesday afternoon after school. If your entryway or mudroom currently absorbs everything that comes through the front door and gives nothing back, these five steps are how I turned mine into a spot that actually works, and where I'd tell you to slow down if you're tempted to skip ahead.
Build the Drop Zone Around This, Not Around Guesswork
This entire setup is built around the HOMCOM Hall Tree with Bench and Shoe Storage, a 3-in-1 coat rack, bench, and cubby unit. Check today's price before you start measuring your wall.
Amazon Check Today's Price on Amazon →Step 1: Measure the Wall and Choose the Right Spot
Before anything else, measure the wall space just inside your front door, or wherever the daily traffic actually funnels through. A hall tree bench like this one needs roughly 40 to 45 inches of width and about 20 inches of depth once someone is actually sitting on it, not just standing near it. Measure with a tape, not your eyes. I eyeballed ours the first time and got lucky, but I've since talked myself out of buying furniture that looked fine in a photo and would've blocked our closet door in real life.
Pick a spot where the door swing, a nearby closet door, and a light switch aren't going to fight with the HOMCOM bench for the same few feet of floor. In a lot of houses that's a stretch of wall just past the entry, in an apartment it might be the wall opposite the coat closet. Either way, this is the one measurement that determines whether the whole project works, so don't skip it to get to the fun part.
Once you've got a candidate spot, tape off the footprint on the floor with painter's tape before anything arrives. It sounds like overkill, but walking through the taped outline for a day catches problems a tape measure alone won't, like a door that swings wider than you remembered or a light switch that's now half hidden behind where the HOMCOM bench arm will sit. It took us five minutes and saved a return trip to the hardware store.
If your entryway is genuinely tight, under about 35 inches of usable wall, a full hall tree bench may not fit, and I'd rather tell you that now than have you assembling it in a hallway that can't hold it. I go through the tradeoffs between a full bench setup and a simpler wall-mounted hook rail in this hall tree bench versus wall hooks comparison, which is worth a read before you order if your space is on the smaller side.
Step 2: Assemble the Hall Tree Bench and Anchor It to the Wall
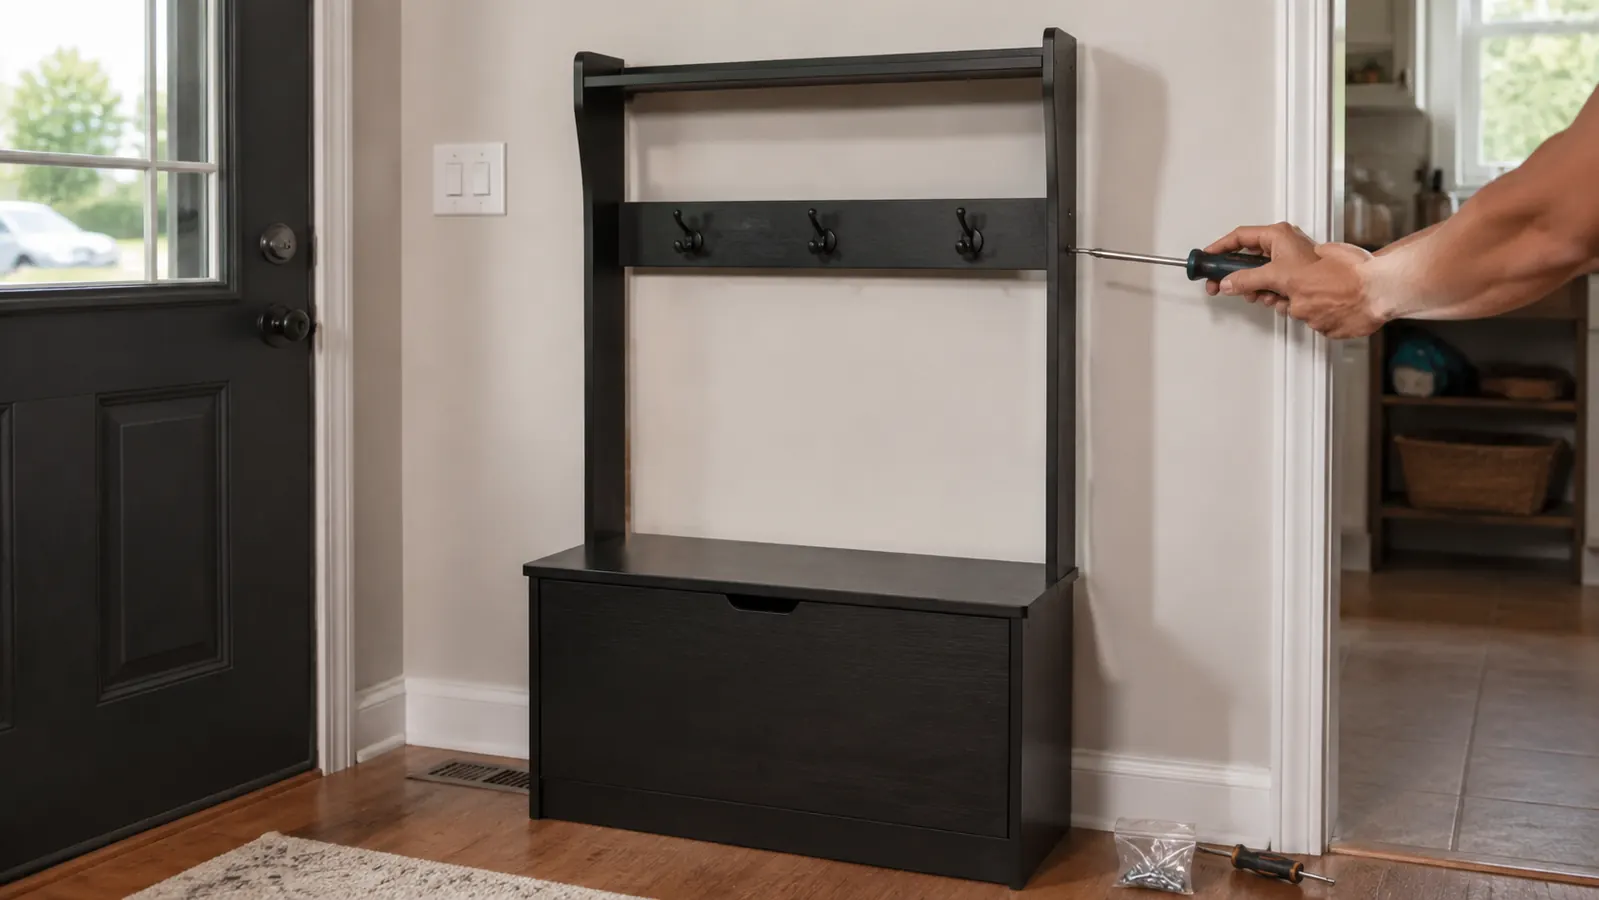
Set aside a real block of time for this, closer to ninety minutes than the thirty the box photo implies. Two people make it faster and considerably less frustrating, mostly because someone needs to hold a panel steady while the other threads bolts through it. The hardware on ours came labeled and the panels came pre-drilled, so it wasn't a guessing game, just slow, methodical work with a screwdriver.
Once it's built, anchor it to the wall using the anti-tip hardware most of these units ship with. This step gets skipped more than any other, and it's the one that matters most in a house with kids who will absolutely use the coat hooks as a chin-up bar at some point. A wall anchor takes maybe five extra minutes and turns a piece of furniture a determined seven-year-old could tip into one that simply can't.
Find a stud before you drill if you can. A stud finder run along the wall at bench height only takes a minute, and anchoring into solid wood framing holds far more reliably over years of daily use than drywall anchors alone. If the wall studs don't line up conveniently with the mounting bracket, use a proper drywall anchor rated for the weight rather than skipping the anchor step entirely because the stud wasn't where you wanted it.
Before you tighten the final panel, do a level check. A bench that's even slightly off-square will show it in the drawer or door alignment within the first month, and it's far easier to correct with a shim now than to fight with a sticking cubby door later. Give the whole frame a firm push test on all sides once it's anchored, front to back and side to side, before you load anything onto it.
Step 3: Zone the Bench by Task, Not by Person
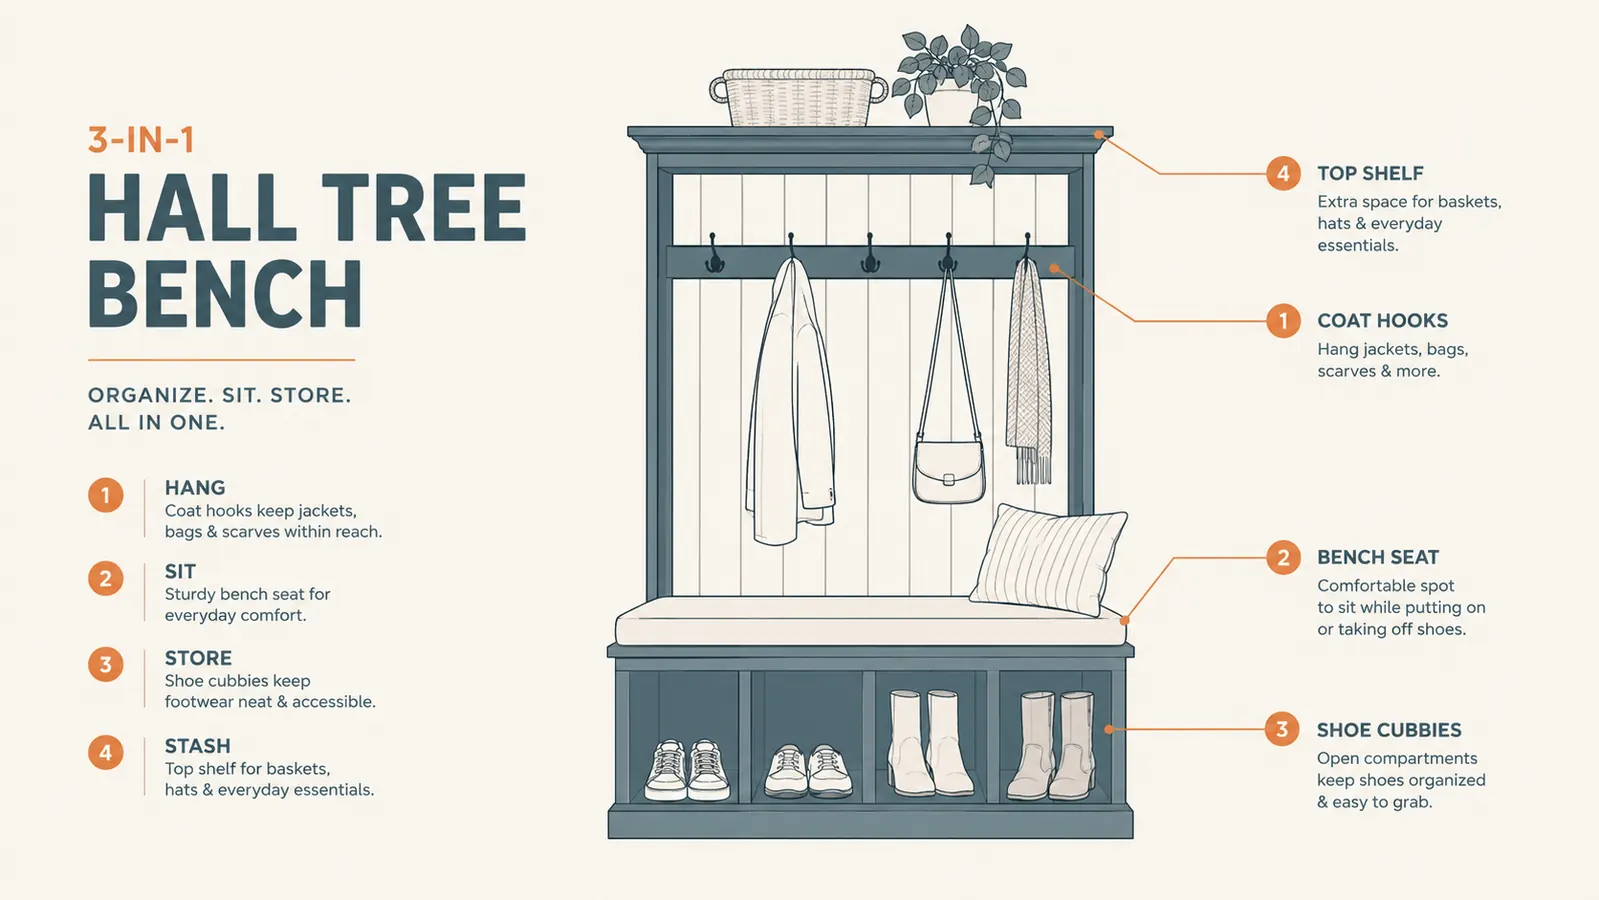
The instinct is to give each family member their own hook and their own cubby. In practice, that falls apart the moment two kids grab their shoes at the same time or a guest needs somewhere to put a coat. Zone the HOMCOM bench by task instead: hooks for outerwear at the top, cubbies for shoes at the bottom, and the HOMCOM bench seat itself reserved for actually sitting down to put shoes on, not for stacking bags.
In our entryway, the three open cubbies hold six pairs of shoes without anything toppling, and the five hooks above split between backpacks, jackets, and the dog's leash so it's always exactly where someone's hand expects it to be. Nobody has an assigned hook. Whoever gets there first uses whatever's open, and it still works because the categories, not the people, define the zones.
If your household regularly has more shoes or bags than hooks and cubbies can hold, which happens on weekends when both kids' gear bags are in rotation, resist the urge to add a second piece of furniture right away. Doubling up two items per hook for a busy stretch is a normal use of the space, not a sign the system failed. I cover what a full year of that kind of seasonal swing actually looks like in my long-term hall tree bench review, if you want the fuller picture before committing.
When guests come through, don't try to fold them into the same zones. We keep one hook consistently empty on purpose, purely for visitors, rather than making a guest's coat compete with a backpack that's already claimed a spot. It's a small reservation, but it means the whole system doesn't get thrown off just because someone unexpected showed up for dinner.
Step 4: Build a Landing Strip for Keys, Mail, and Everyday Carry
A drop zone isn't finished until it handles more than shoes and coats. The top shelf on a hall tree bench is the natural spot for a shallow tray for mail, a small dish for keys, and a spot for sunglasses or a wallet. This is the piece most entryway setups skip, and it's the reason keys still end up in a couch cushion even after the shoe pile gets solved.
Keep it to three or four items max. A landing strip that turns into a catch-all for loose receipts and stray hair ties stops functioning as a landing strip and just becomes clutter with better real estate. I keep a wicker tray for incoming mail that gets sorted every evening, and a small dish that holds exactly one set of car keys, no more, which has genuinely cut down on the pre-school-run scramble more than anything else in this setup.
During the school year, we also clip a small folder to the side of the top shelf for permission slips and forms that need a signature that week. It sounds like a minor addition, but it means those papers have exactly one home instead of drifting between the kitchen counter and a backpack pocket, which is where they used to get lost for days at a time.
If your hall tree bench doesn't have a top shelf, a slim floating shelf mounted just above it does the same job for budget pricing. The point isn't the specific surface, it's making sure the small, easy-to-lose items have one home instead of ending up wherever someone's hand happened to be when they walked in.
Step 5: Set a Nightly Reset Routine So It Sticks
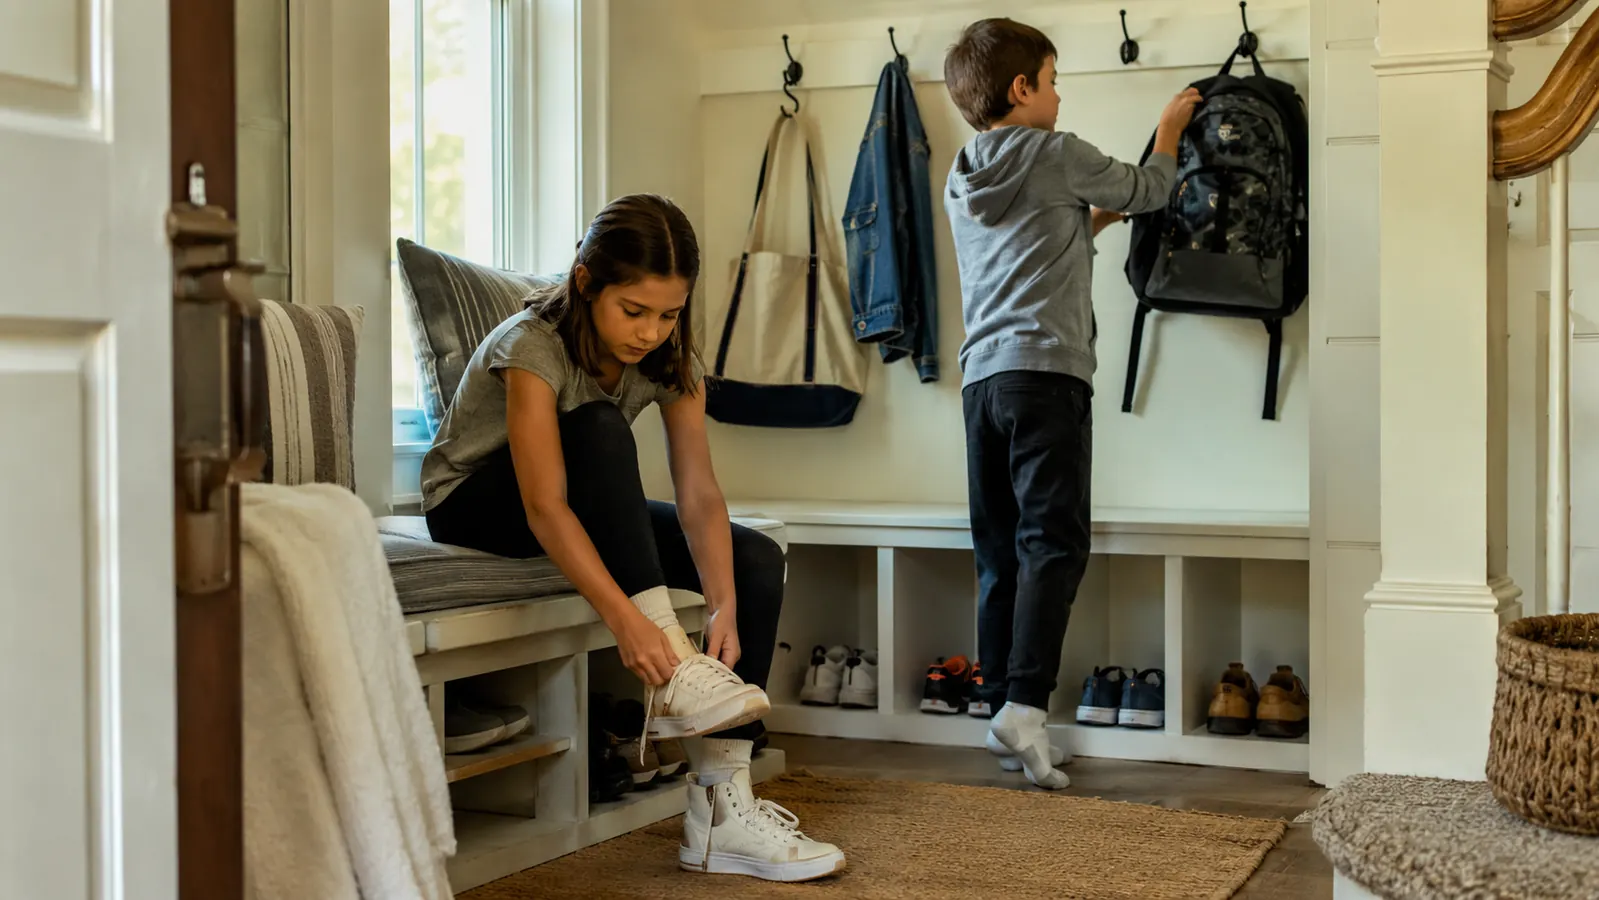
Furniture alone doesn't keep an entryway organized, a habit does. The single change that made this drop zone actually stick was a two-minute reset before bed: shoes go back in the cubbies, coats go back on hooks, backpacks get checked for tomorrow's folder. It's fast enough that nobody complains, and it means the entryway never has more than one day's mess to deal with at a time.
The first month, I did the reset myself most nights and narrated it out loud so the kids picked up the pattern. By month two, Eli was doing his own shoes and hooks without being asked, mostly because the system was obvious enough that it didn't require explaining twice. A drop zone that needs constant policing isn't actually working, it just means the zoning in Step 3 needs adjusting until it matches how your household actually moves through the door.
Give it a full two weeks before deciding whether the layout works. The first few days always look messier than expected because everyone's still relearning where things go. By week two, in our house at least, shoes started landing in the cubbies out of habit rather than a reminder, which is the real sign a mudroom drop zone has taken hold.
What Else Helps
A hall tree bench solves the coats-and-shoes problem, but a few small additions make the whole entryway hold up better. A low-pile boot tray under the cubbies catches drips from wet or snowy boots before they reach the floor, which matters more in a real mudroom than a purely decorative entry. A slim umbrella stand tucked beside the HOMCOM bench keeps a wet umbrella from becoming its own puddle, and an absorbent mat just inside the door does more work than people expect for the two dollars it costs.
If your entryway doubles as a mudroom during rainy or snowy months, consider a second, cheaper set of hooks lower down for kids to reach on their own. Independence matters here. A hook a seven-year-old can actually reach without help gets used every day. One that's too high just gets skipped, and the coat ends up on the floor anyway, which defeats the entire point of building a drop zone in the first place.
A small mirror mounted near the bench is worth adding too, not for decoration but so nobody's standing in front of the bathroom sink checking themselves over on the way out the door, which used to be its own small bottleneck in our morning routine. It's a cheap addition, and it keeps the whole leaving-the-house process contained to one spot near the front door instead of scattered across three rooms.
A drop zone doesn't need to be big. It needs every item to have exactly one home, at a height someone can actually reach.
Stop Rebuilding the Same Shoe Pile Every Evening
The HOMCOM Hall Tree with Bench and Shoe Storage is the piece this whole drop zone setup is built around. Check today's price and see if it fits your entryway before you spend another weekend chasing loose shoes.
Amazon Check Today's Price on Amazon →